
 |
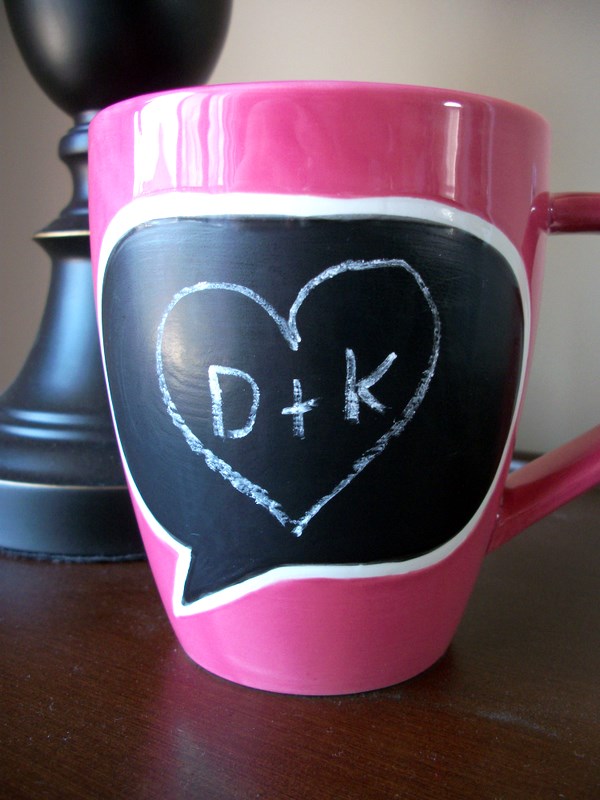
| My sis-in-law got me this for my birthday! Love it. |
My. Husband. Is. Awesome.
"Ode to Dino? I am confused!" When Daniel and I got married and were going through our premarital counseling at church, our Pastor (NOT his Dad =D) apparently thought I was calling Daniel "Dino" in conversation. I think I was just talking too fast and rambling, which happens often, but we never could tell him the truth. Oh well! Now I call him "Dino" often, so much that we don't even associate it with that time in our life. Too funny!
Anyway- my husband. What a great guy! Not only does he work hard to provide for us, but he comes home everyday with this smile on his face that says, "I've been waiting all day to see you"- well, at least that's what he makes me think. Whether or not it's true doesn't really matter (and I'm sure it's not always true. I'm a brat sometimes). What matters is that he goes out of his way to make me feel loved. As a wife, I pray I honor him as much as he loves me. Tall order, but it's a work in progress.
I'm going to be a total stereotypical midwesterner and tell you he reminds me of a country song. Yes, I did just say that. I sometimes listen to CMT when I get ready for school in the morning and "Mama's Song" by Carrie Underwood always makes me think of him. And my mom. But mostly him. Look it up. Loving and being loved by Daniel has changed my life. Love him so!
Okay, ENOUGH. I thought this blog was about sewing and being creative. On the subject of Daniel, he totally shocked me for my birthday and bought me a new laptop! All I did for his birthday was give him giftcards and "permission" to buy a huge tool chest, as if he needed my permission in the first place. I don't deserve it, but knowing I enjoy it makes him happy, so I might as well =)
I thought,"I need a case to take care of my new 'puter!" All of the cases I see out and about are UGLY, so I made my own. You can find the tutorial I used here!
 |
| My supplies- the measurements are in the Tutorial. From start to finish- $7! |
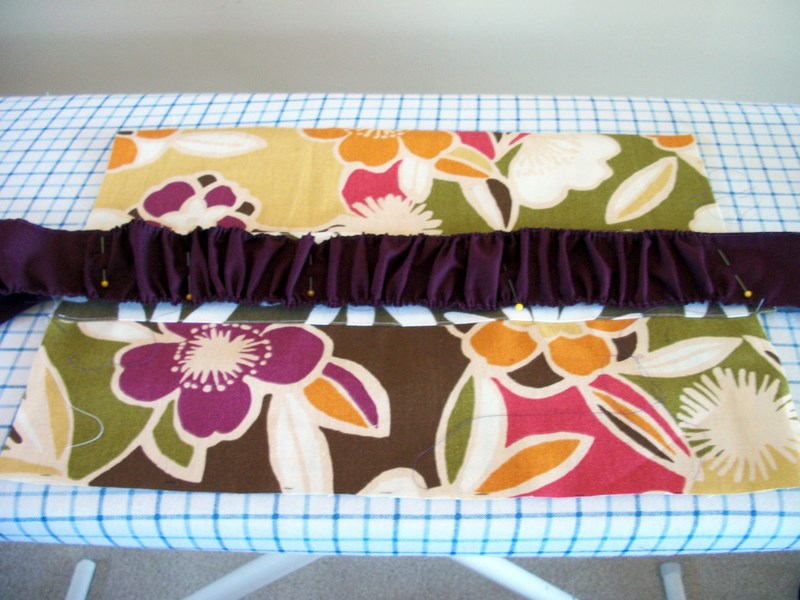 |
| This ruffle was a little bit of a pain, but worth it. |
 |
| Tada! Sew cute! Link to the flower tutorial is on the tutorial where I got this pattern. They were SO easy! |
 |
| Lined and all, perfect fit! |
The only thing I will say is that after 5 hours of sewing, I STILL HATE lining ANYTHING, especially if it involves a zipper. Also, sometimes high-tech computerized sewing machines just don't hold a candle to the basics. Oh well, they turned out great. Please notice that I chose fabric that is 1. patterned and 2. colored. Many people make fun of the lack of color in my house and wardrobe, so this one's for you.
My sister in law has a mini-me laptop, so she got a mini-me case, too!
 |
| Kaleigh's mini-me case. =) |
When I was done with my adventure (again, 5 hours), I realized I had neglected my puppy and he had peed on the carpet- BAD BOY! This is where I found him after:
 |
| Poor baby! |
All in all, great President's Day off. Thankful to be an American!


