
Welcome to the longest posts/tutorials on Earth!
If you are into home DIY, it's totally worth it, I promise.
I blogged a while ago about wainscoting and moulding- and how much I am in love with it. In my Dad's words, "it looks sharp man!". I fell in love with our house when I saw it online- it ended up being the first house we looked at and, obviously, the one we bought. There were a few contenders that we would have had to fix up and completely furnish with appliances, but we weren't looking/ready for that (maybe next house!). That being said, there was really nothing that I HAD to change about the house, but some things I wanted to add/make my own. This tutorial is for one of them!
Wainscoting is actual wood paneling on the wall, with moulding added around and on top to make boxes. I didn't want to pay for that, so we just painted the wall. It really extends the hallways, adds dimension, and I love that it covered some scuffs and I can wipe the wall down with a wash cloth or sponge. Amazing. Here you go!
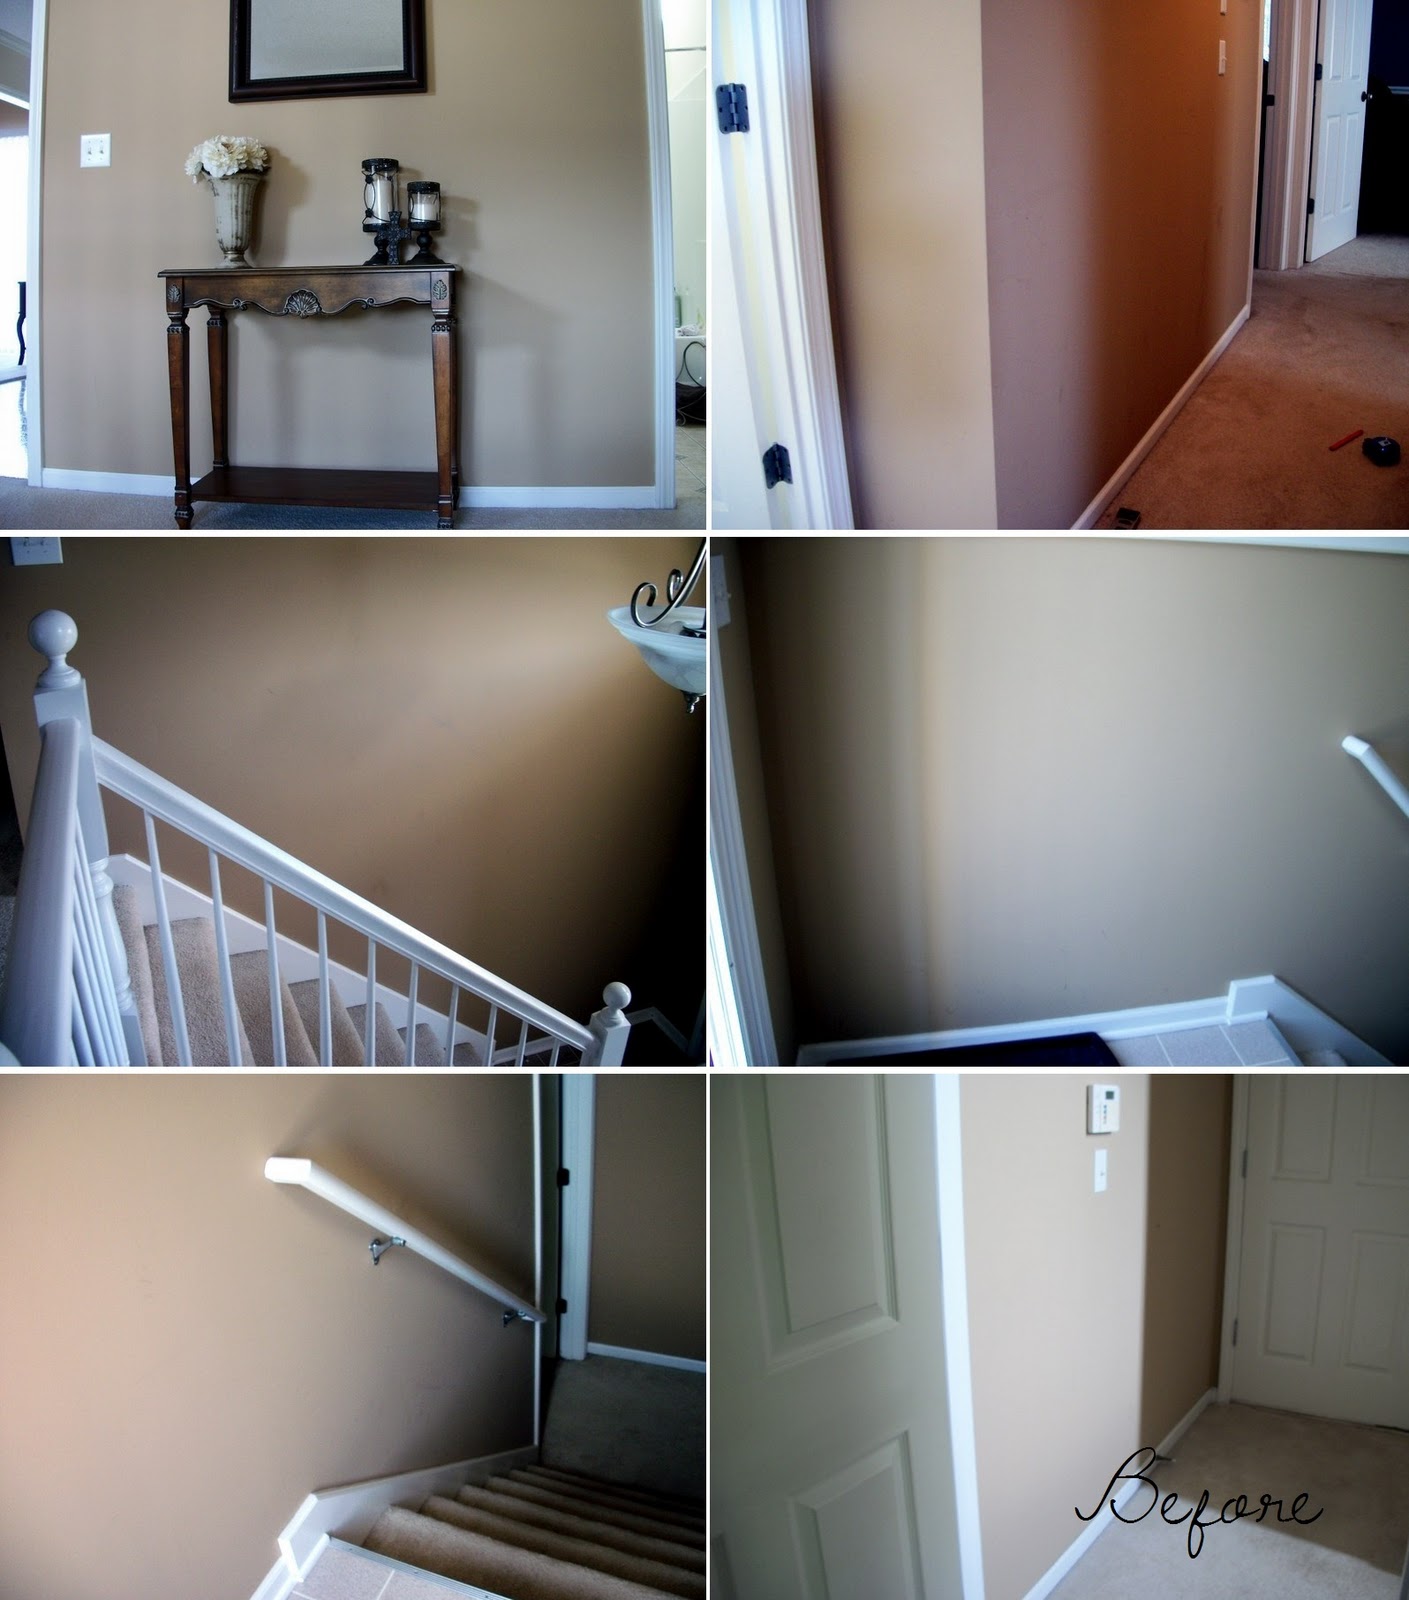
Before:

First, measure how far up the wall you want the chair rail portion. We had put chair rail up in our bedrooms and wanted it to be the same height. I read that the general rule is that the chair rail should be about 1/3 of the way up from the floor (between 32" and 36" for an 8’ ceiling). I think ours ended up being 34”. We used a level and tape measure to make marks every 2 feet along the walls and then used a chalk line-snapper tool thingy to snap a solid line across the wall:


Alright- time for trim. We purchased this pre-primed moulding for $.89/foot. It’s not the real pine moulding- particle maybe? Not sure, but not solid wood. Who knows the difference? Not I. It was half the price! It needs 2 coats of the same semi-gloss paint to be finished, so I paint one coat before it goes on the wall, then the final coat once it is up. Daniel measured all of the wall sections and he cut them at the store to be that long plus an extra 6 inches for nudge room. We numbered each wall and then wrote those numbers down on paper with their measurements. While at Home Depot, we wrote that number on the back of the piece of trim so that we knew exactly where it went once we got home. It didn’t take long at all, surprisingly! We cut them up at the store 1. Because they fit in our SUV better and 2. It kept us organized. One thing we both have learned is to organize along the way instead of doing it all at once.
 |
| Measurements with wall numbers |

So, one coat of paint. Then, figure out what edges need to cut at an angle and which can stay straight. If your moulding is going to be put up to a door frame, that edge can be left or cut straight- no angles. If it is going to be put into a corner, if needs to be cut at a 45 degree angle. Some 45's are cut "in" and some "out" depending on what kind of corner you have.
 |
| This is what I mean by in and out corners =) |
 |
| Sorry, but man, HAWT! |
 |
| Don't ask me how he figured this out, but he did- in involved some triangles and Math. These are "test" strips- which I would high recommend doing. If you aren't sure about the angle, practice on scraps until it's perfect, then cut the real pieces. Daniel said this angle was 19 degrees... somewhere in there. You'd think getting a 30 on your ACT would mean I would remember this stuff. No clue. |
 |
| I know he's not putting up the chair rail and you're thinking YOU SKIPPED STEPS! Just showing you the nail gun! |
Huzzah!
Our walls looked like this for a month (minus the blue tape). We got so busy!

Now, the inside boxes. We bought the same type of moulding from home depot, but shaped differently, and it was $.57/foot. We measured our wall and figured out what size to make the boxes so that there is the same distance from the box to the wall and chair rail all the way around the box. It was around 4-5 inches. Draw the boxes on the wall with a pencil (it will come off later with either eraser or a magic eraser sponge!).

To make the boxes, cut each edge of the box sides at a 45 degree angle. We hot glued the corners together.

 |
| Everywhere! |


 |
| This is awesome! I went to ACE Hardware looking for putty and this was cheaper- and WAY better. It comes out like toothpaste and I just put it on my finger and filled the hole. Then, I rubbed it and all the extra dusted off. Amazing. |
 |
| You have to fill the nail holes on both sets of moulding- chair rail and the little boxes. |
Tape off the wall (even though it's the same paint) so that you can paint the trim boxes and chair rail (2nd coat) neatly, as well as caulk. Paint and then caulk around the outside of the boxes=)

Tada! Peel tape and you are done!
The boxes down the stairs were a whole other story. You have to figure out the angles and, well, my husband did that. The man and his numbers- sheesh.
Before:
After:


That's howie did it.
WOW. I am in absolute love with it. I can't wait to fill this house with babies so they can gum it up and I can wipe it down =) I will have to settle for my little niece after January!
Next project? (because yes, we always have to have something going)
 |
| We have carpet in front of the entrance to our garage, which is that door in the top picture. It is disgustingly dirty and will not come clean. Believe me, I've tried it all! Plus, the dog pees there and leaves like to visit us there in the fall. Boo. The bottom picture is just linoleum. |
PS/Disclaimer: After asking my hubby to proofread this post (note to self- never do that again) because he was in so much of it (no, he doesn't read my blog. Good thing-if only he knew what I said about him. Ha), I was informed that I needed to note that all "we"s in this post should be changed to "Daniel"s because he "did it all by hisself". I will admit- he did do most of it. There were several "Katie, get off Facebook and help me"s and "Where are you? I need you down here!"s. I did do all the taping, painting, and caulking. I also manned the air compressor. Take that!
Marriage. =) Really, greatest blessing on Earth.
I am in love. And swooning over your wainscoting. Someday All our Dave Ramsey beliefs will pay off and we won't be plagued with continuous medical expenses (I say this BELIEVING THAT-even though I wonder how that will ever be possible) and we will get to buy a house and I will put beadboard & wainscoting EVERYWHERE. Do you read House of smiths? I want their bathroom. Until I can decorate my own house. I will just fill this teeny one we rent with crafts and babies. =)
ReplyDeleteLove it! And Matt is the opposite... he's always reminding me to use plural forms. I'm like, "But it's MY blog." "Ah, but she's OUR baby..." I can't argue with that. I still forget sometimes though. LOL
ReplyDeleteWhat an ah-mazing transformation! You guys did a fabulous job! I would love for you to share this over at my link up.
ReplyDeletehttp://threemangoseeds.blogspot.com/2011/10/3rd-motivational-monday-link-up.html
Hope to see you there!
Clydia
So happy to see you at the party! :)
ReplyDeleteWow Im going through the exact story so I'm glad I wasn't the only one!! Great blog my sentiments exactly!
ReplyDelete